Super proud of myself for starting, and completing a project in such a short amount of time!
Okay, now that the roar of accolades has died down and I can hear myself think, I will share a bit of the finishing of this bookcase.

We wanted color. Color we got! I used latex paint as a color/stain. Wipe on full strength and wipe off, revealing the wood grain with the color applied.

After allowing the paint to dry about 2-4 hours, I lightly sanded with 320 grit sandpaper to wear the paint some, showing off more grain and some bare wood. I used a clean rag to clean the dust off and I also rubbed the surfaces very vigorously with the cloth, burnishing the wood some. It really smoothed out the surface and had a light satin sheen to it.
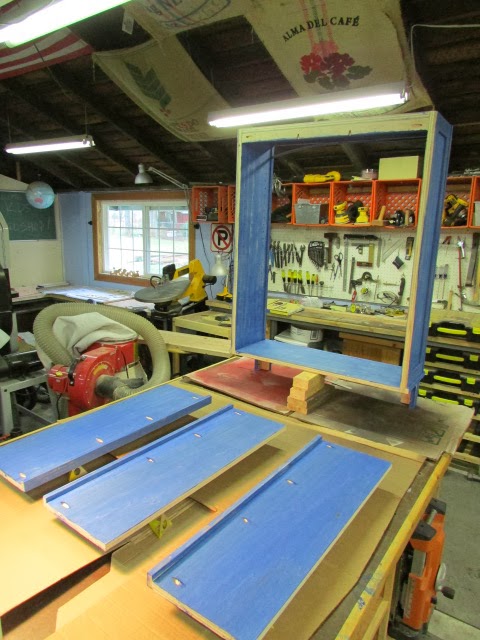
Here is everything laid out to spray the finish. It is a bookshelf going in a bedroom with three little boys so a top coat of protection is a DEFINITE MUST!

This is the spray finish that I used. It came out perfectly. I used 2 cans to cover the whole project at least 3 times.

Three coats later and some time to cure, here it is! It is not a free standing bookshelf. It is attached to the wall with screws.

Here is what I did to cover the end grain of the top. I cut a piece and screwed it in place. I plugged the screw holes. I actually like that you can see the plugged holes when I sanded the ends.

You can see here that there are only two legs. It leans against the wall and the bottom clears the top of the baseboard trim. It is secured to the wall studs with screws at the top of the case.

Showing the arched corner detail here. The piece is wedged into place and pinned into the top of the face frame along the middle. If you look closely, you can see a screw securing the bookshelf to the wall. Look at the top right corner of the "Little Blue Truck" book to see the screw.

This shows the sheen of the finish. Very pleasing! The top is screwed to the case with 5 screws up through the top of the case into the bottom of the top.

Now it is all loaded up and ready to get disorganized! I made three adjustable shelves for it but only needed two. Better to have too many than not enough.
1 comment:
Beautiful coloring. I wish my husband would think color instead of which brown it should be.
Post a Comment